
How to Make Cyanotype Prints: My Process
One of the things I love most about cyanotype is getting to watch the chemical reactions happen in real time. It feels equal parts photography, printmaking, and experiment. There’s always a little unpredictability in the process, and that’s part of what keeps it exciting for me.
There are a few different ways to make cyanotypes, and I’ve experimented with several. Here’s a look at how I create my cyanotype prints.
Starting with Cyanotype Paper or Solution
In the past, I’ve bought pre-treated cyanotype paper from Amazon with the light-sensitive solution already applied and ready to go. That’s a really easy way to start.
You can also buy cyanotype solution and apply it yourself to watercolor paper, fabric, or other surfaces, which gives you more control and more room to experiment.
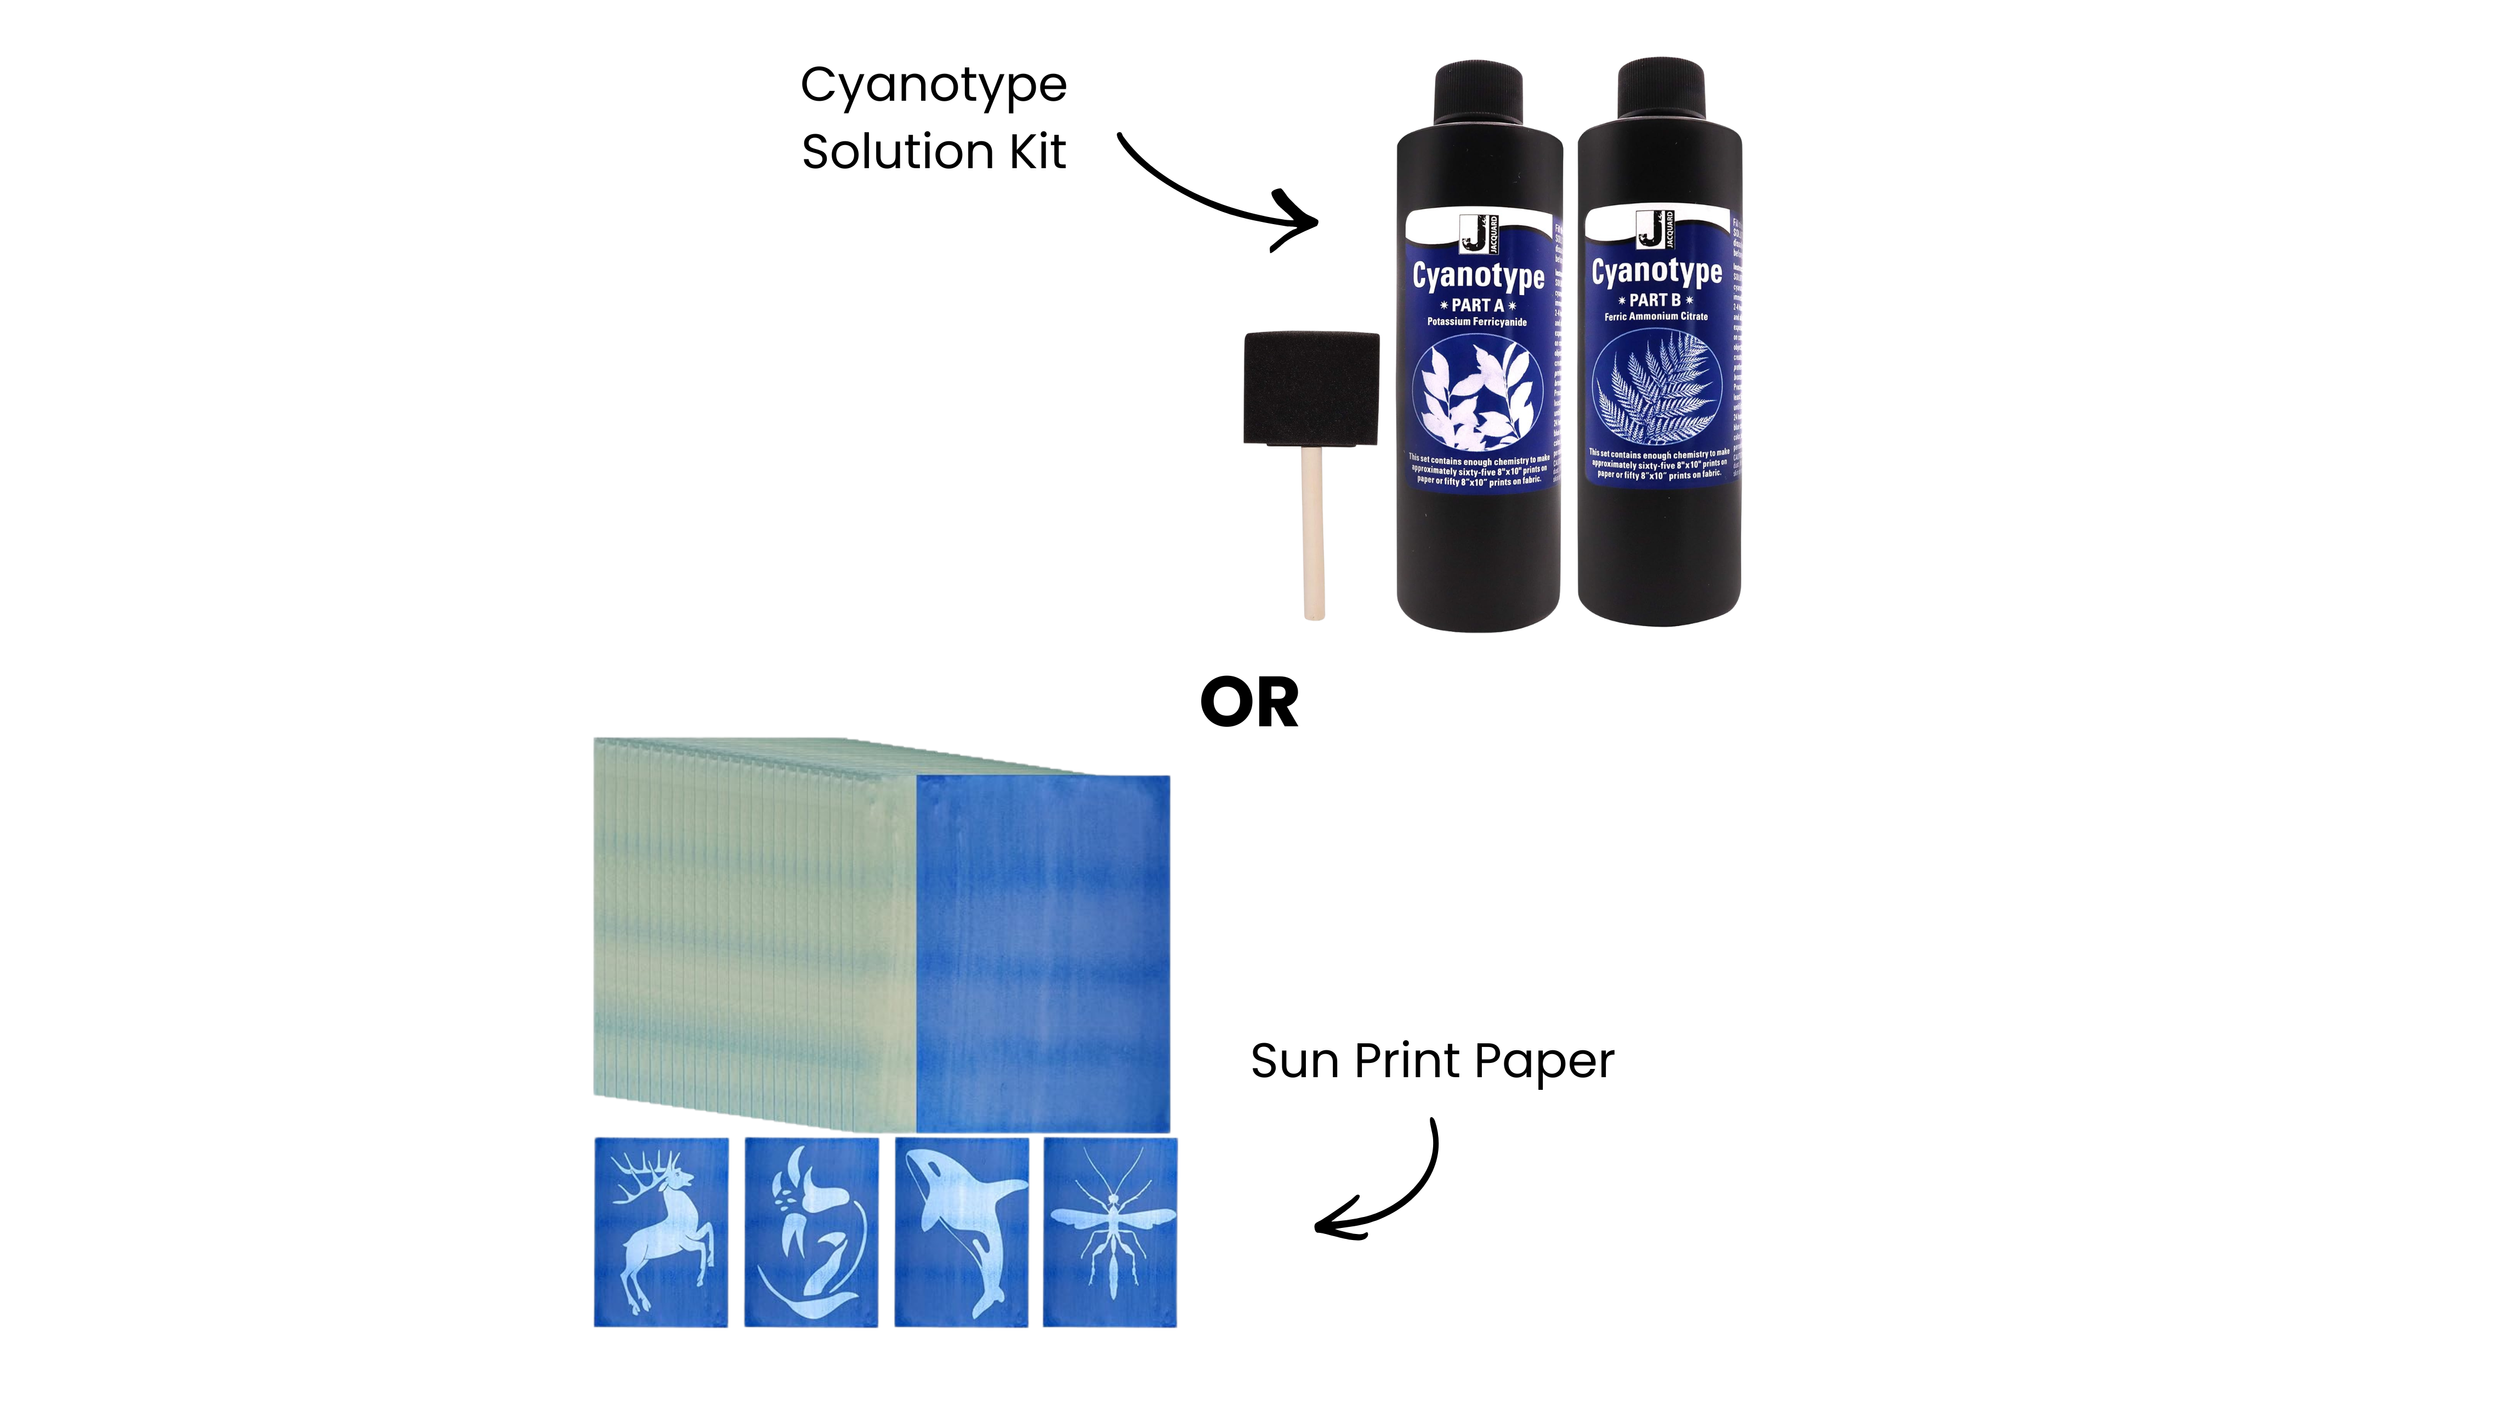
Cyanotype Tools: Sun Print Paper or Solution
Using Sunlight (and Why UV Index Matters)
I traditionally started with the sun.
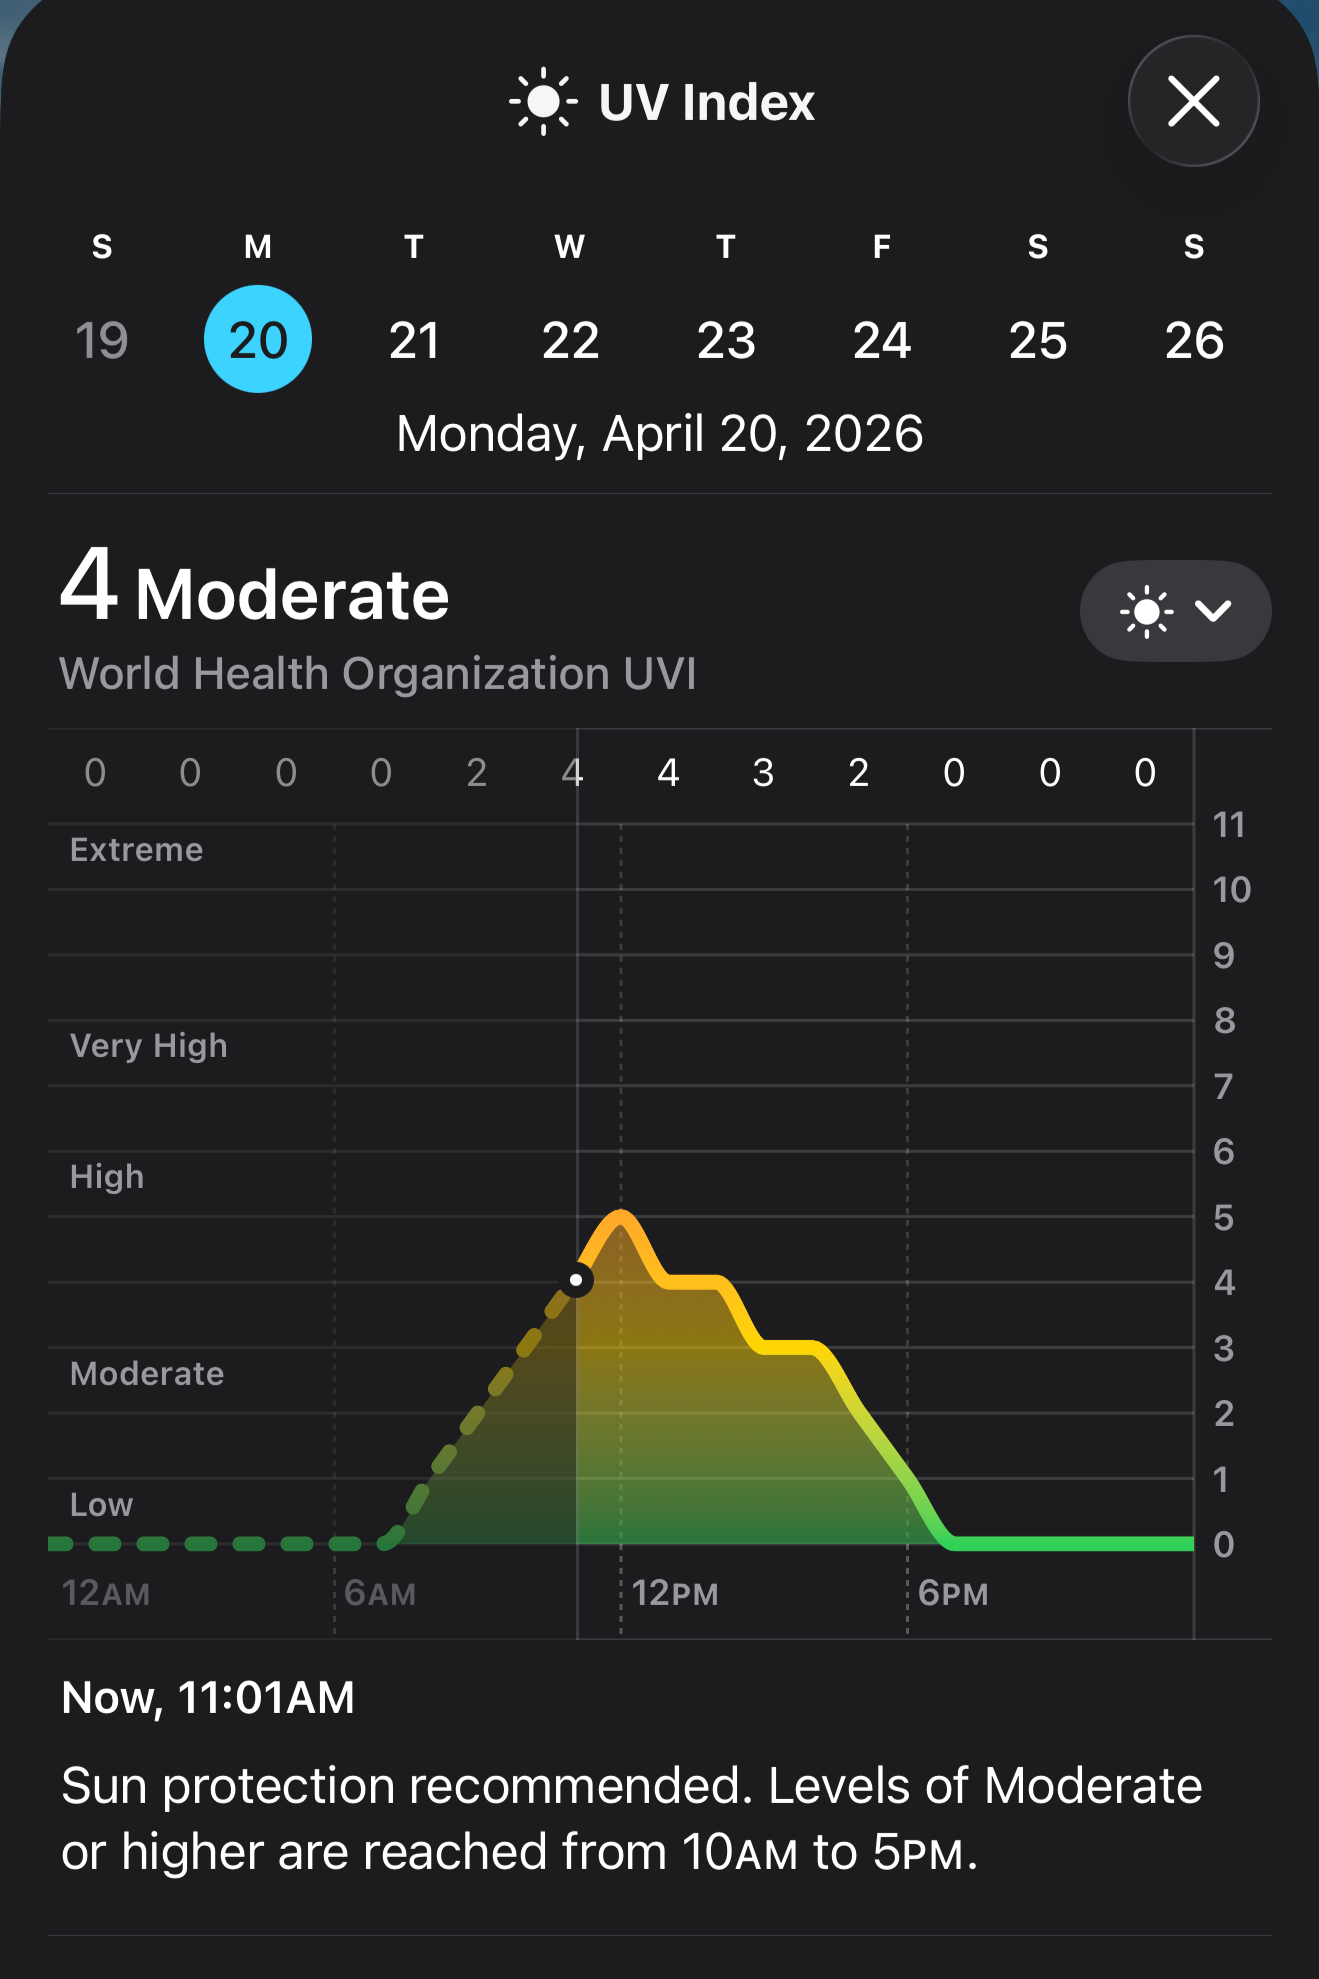
One thing I always check is the UV index in the weather app before printing. This makes a big difference. The higher the UV index, the faster and easier the exposure tends to be.
I’ve found anything above a UV index of about 5 or 6 is ideal.
That matters because if exposure takes too long, the sun moves, shadows shift, and that can affect the print.
For me, around 15–20 minutes in the sun has often worked, though it depends on the paper and chemistry. I’ve also accidentally used expired cyanotype paper before, and the results definitely suffered, so materials do matter.
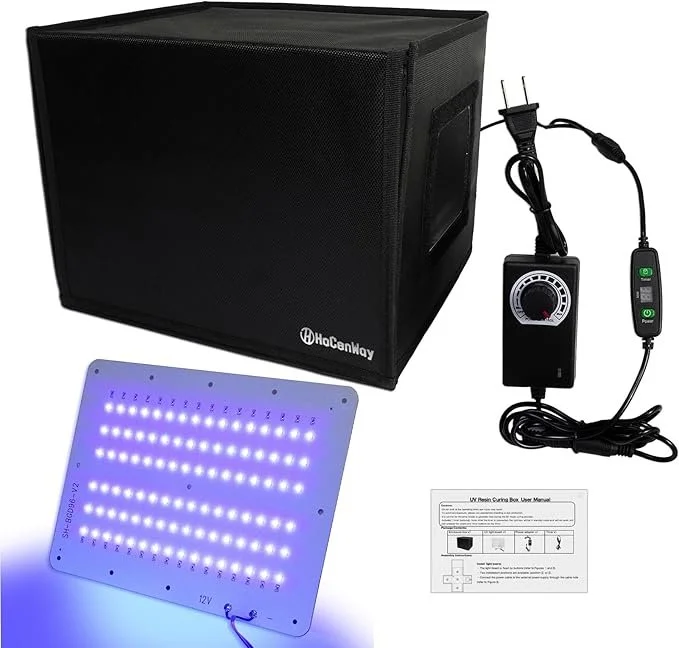
Using a UV Light Box
I also bought a small UV light box, which lets me make prints indoors.
That’s been really useful when the weather doesn’t cooperate or when I want more consistency.
You can use either sunlight or UV light — both work.
Using Objects or Photo Negatives
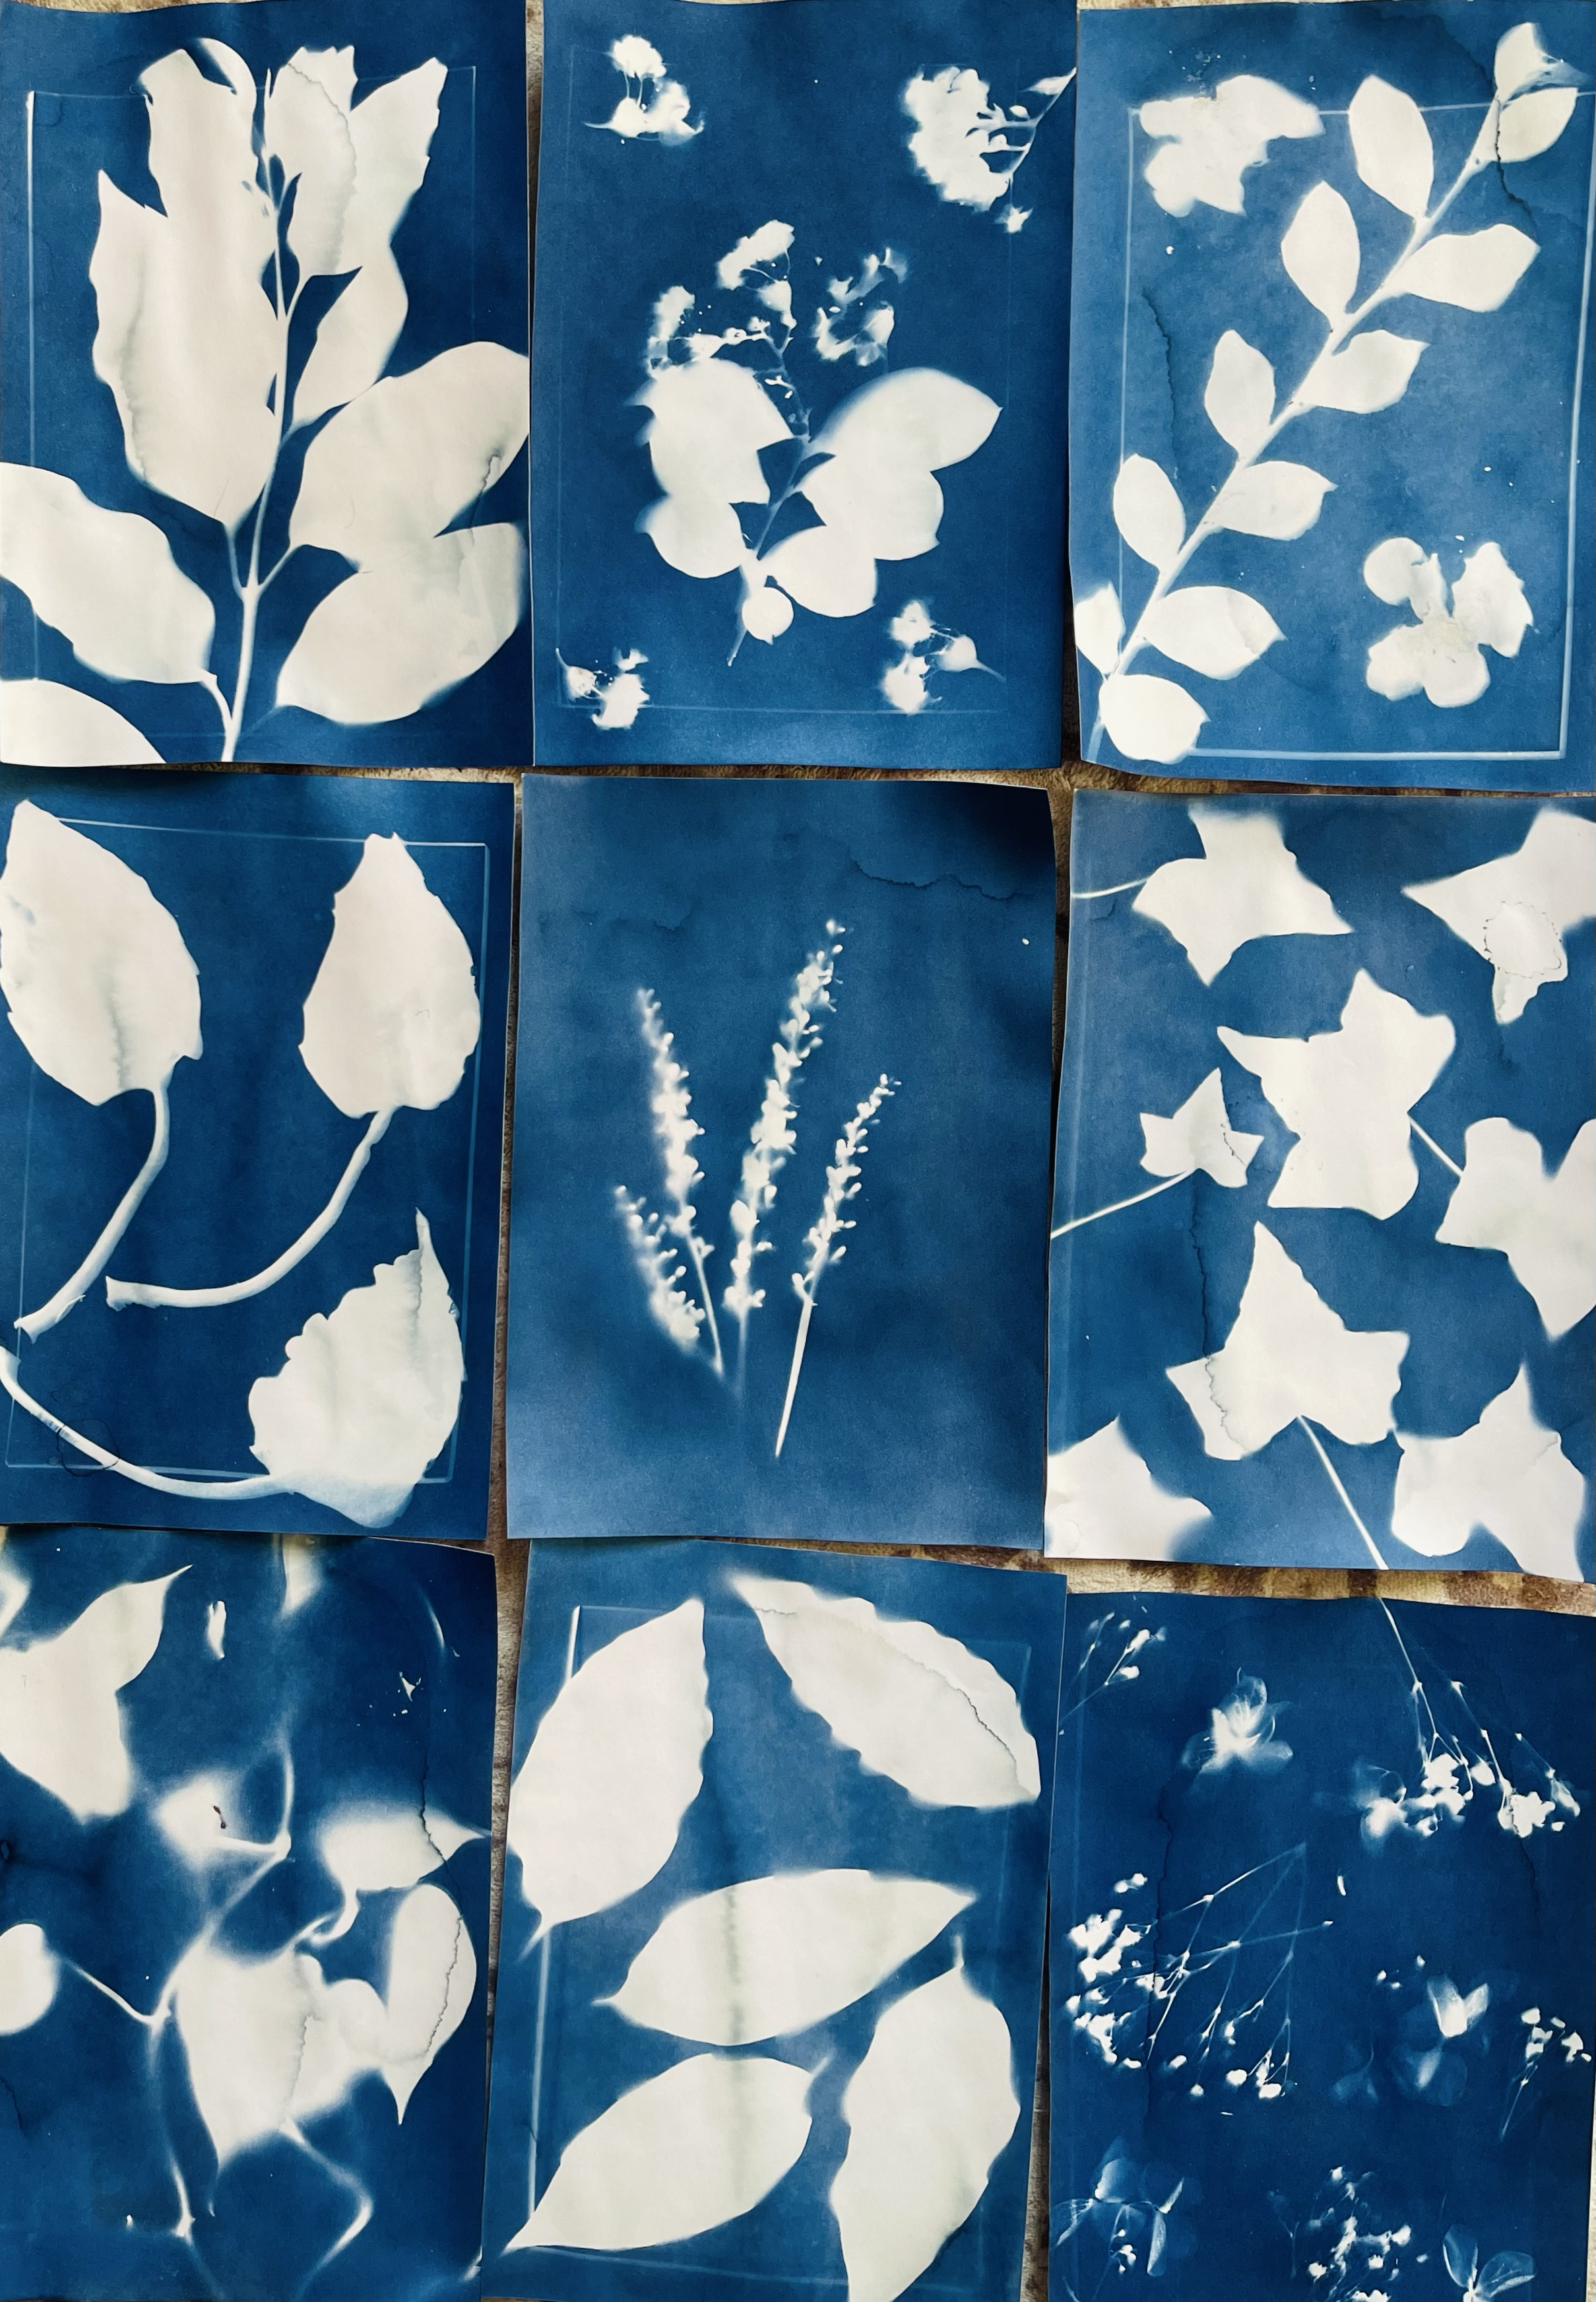
A traditional cyanotype approach is using physical objects like leaves or flowers. Those work well because they have strong shapes, and translucent materials can create beautiful detail.
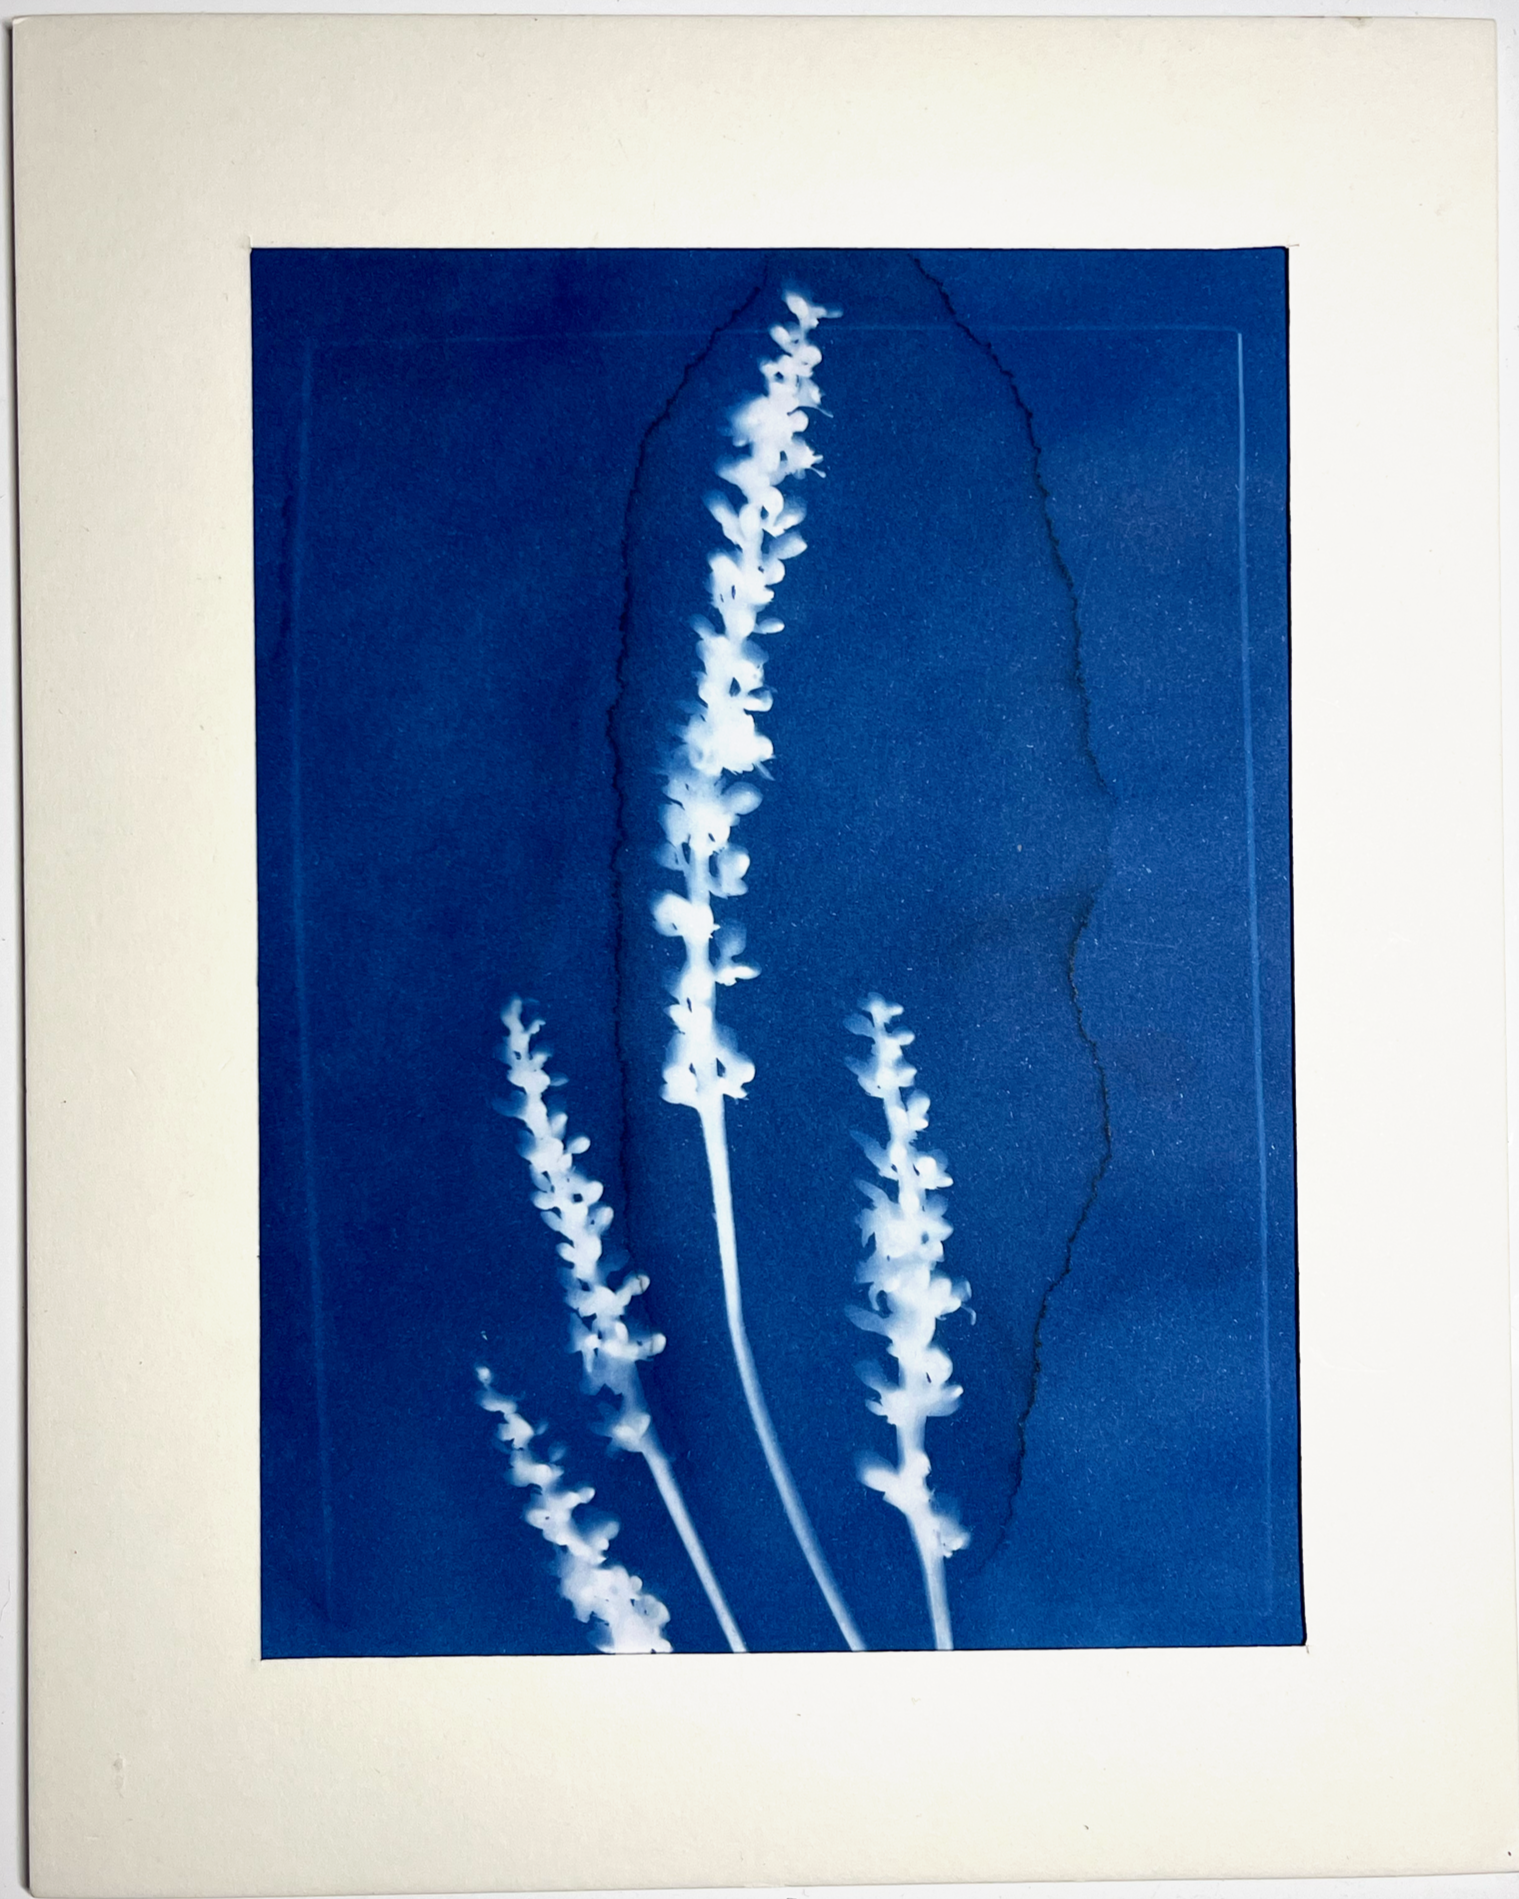
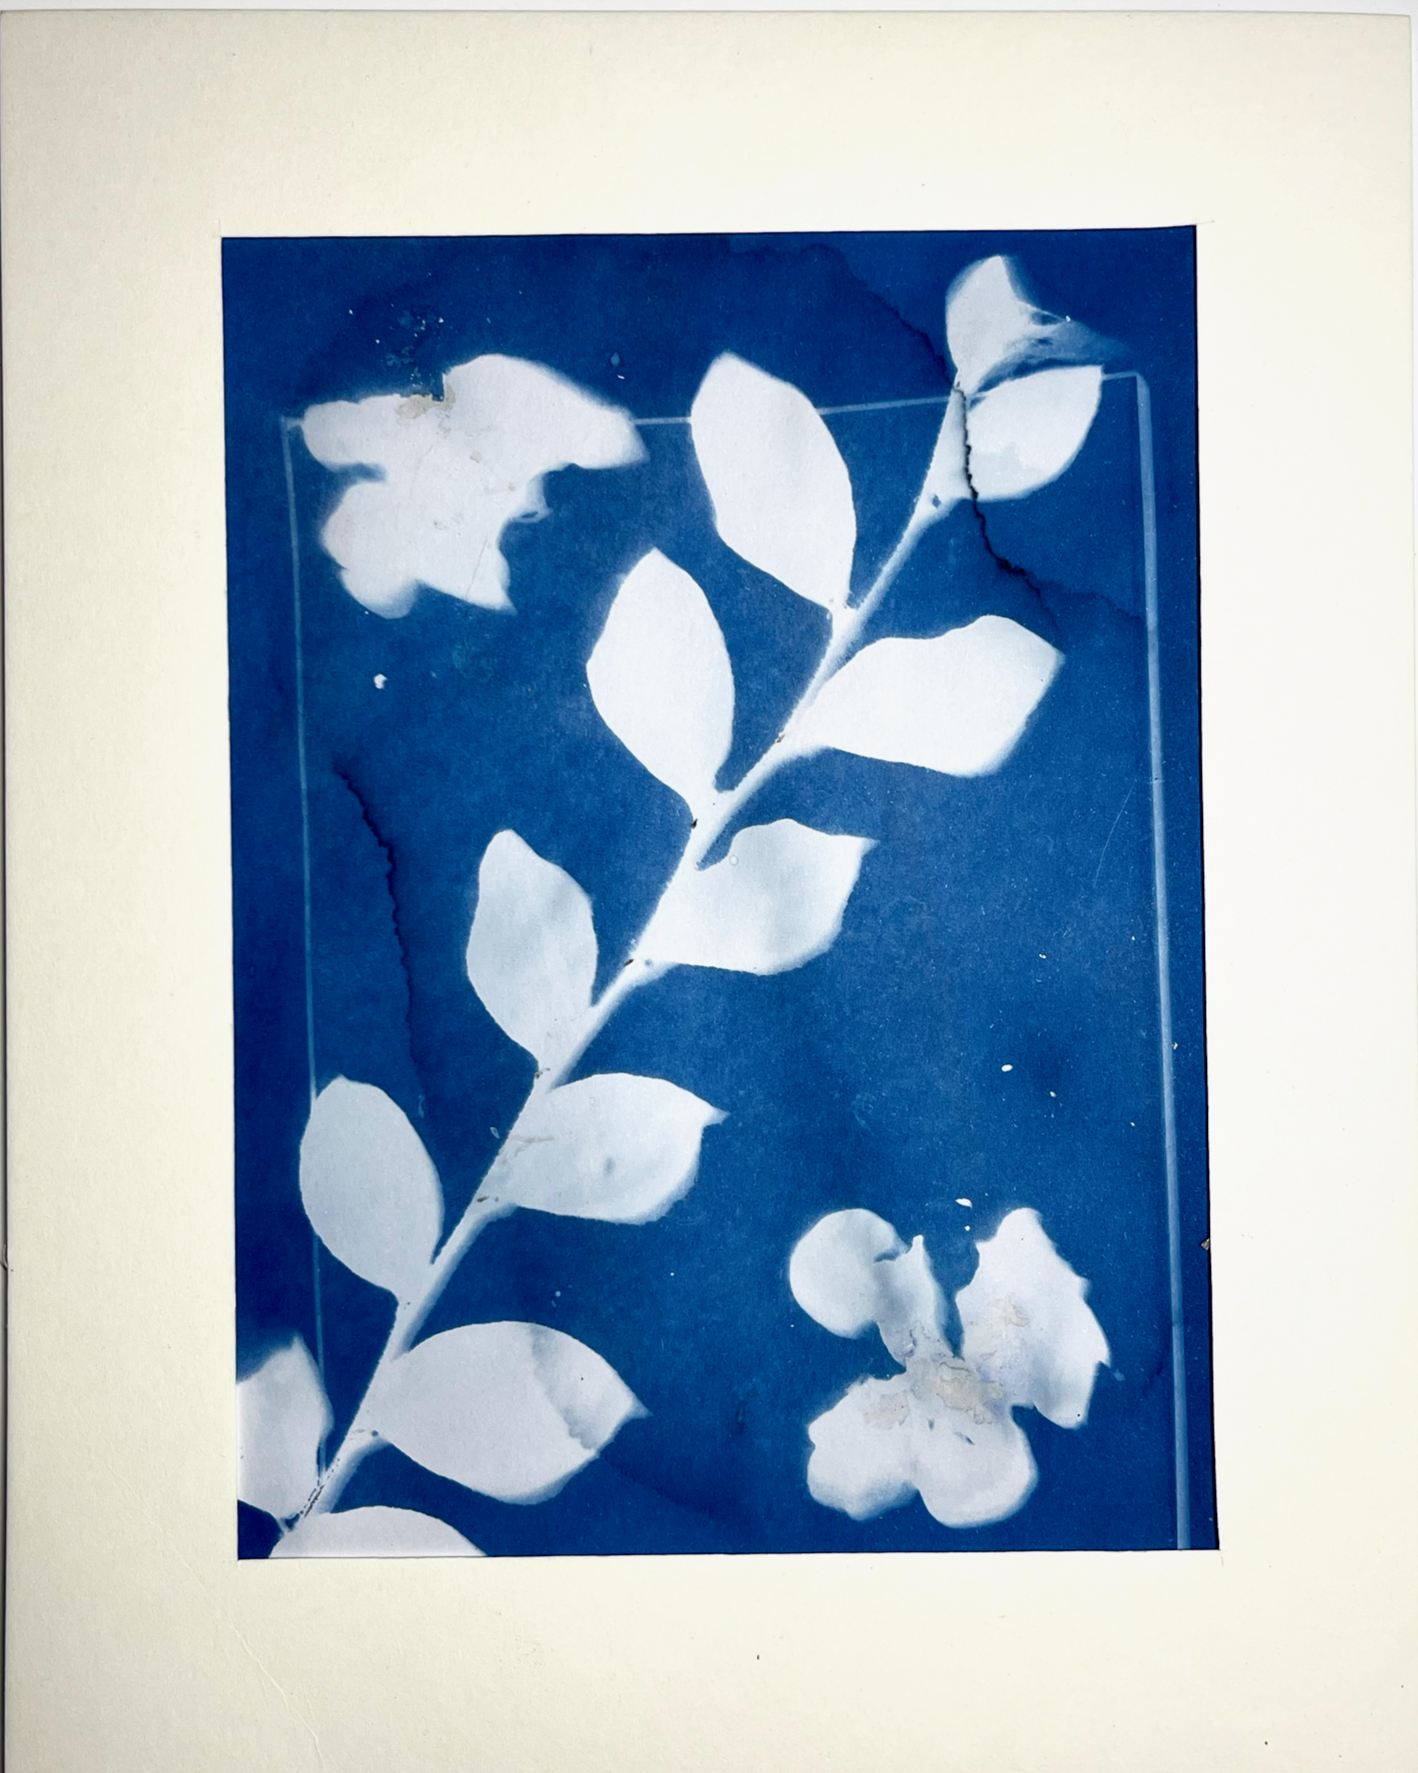
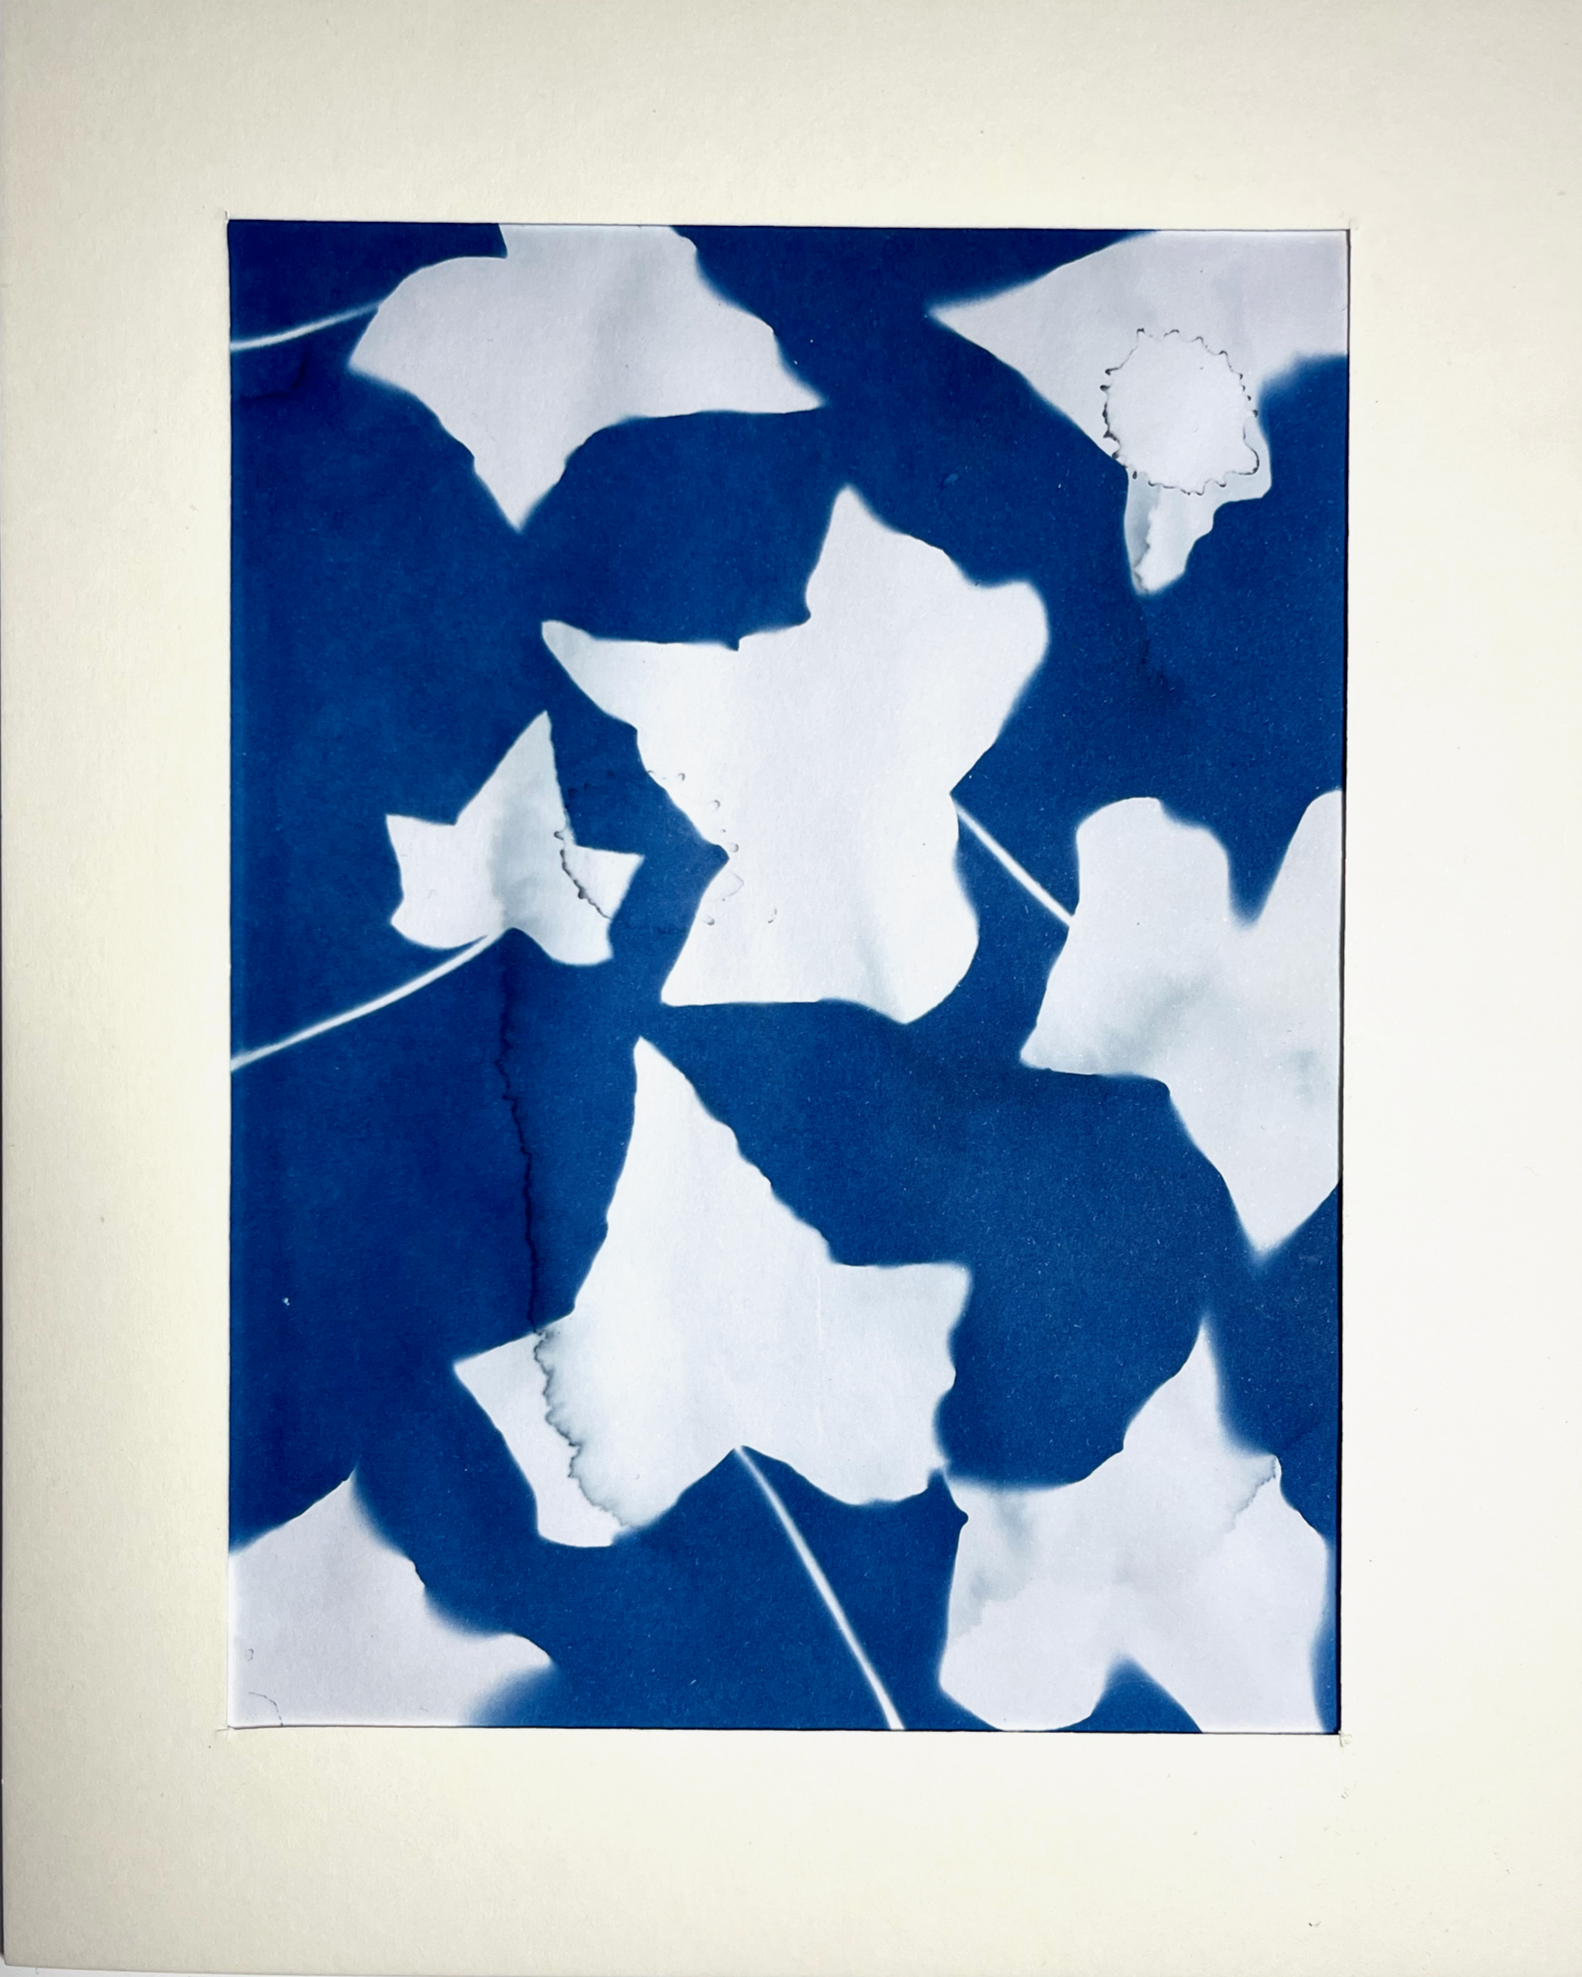
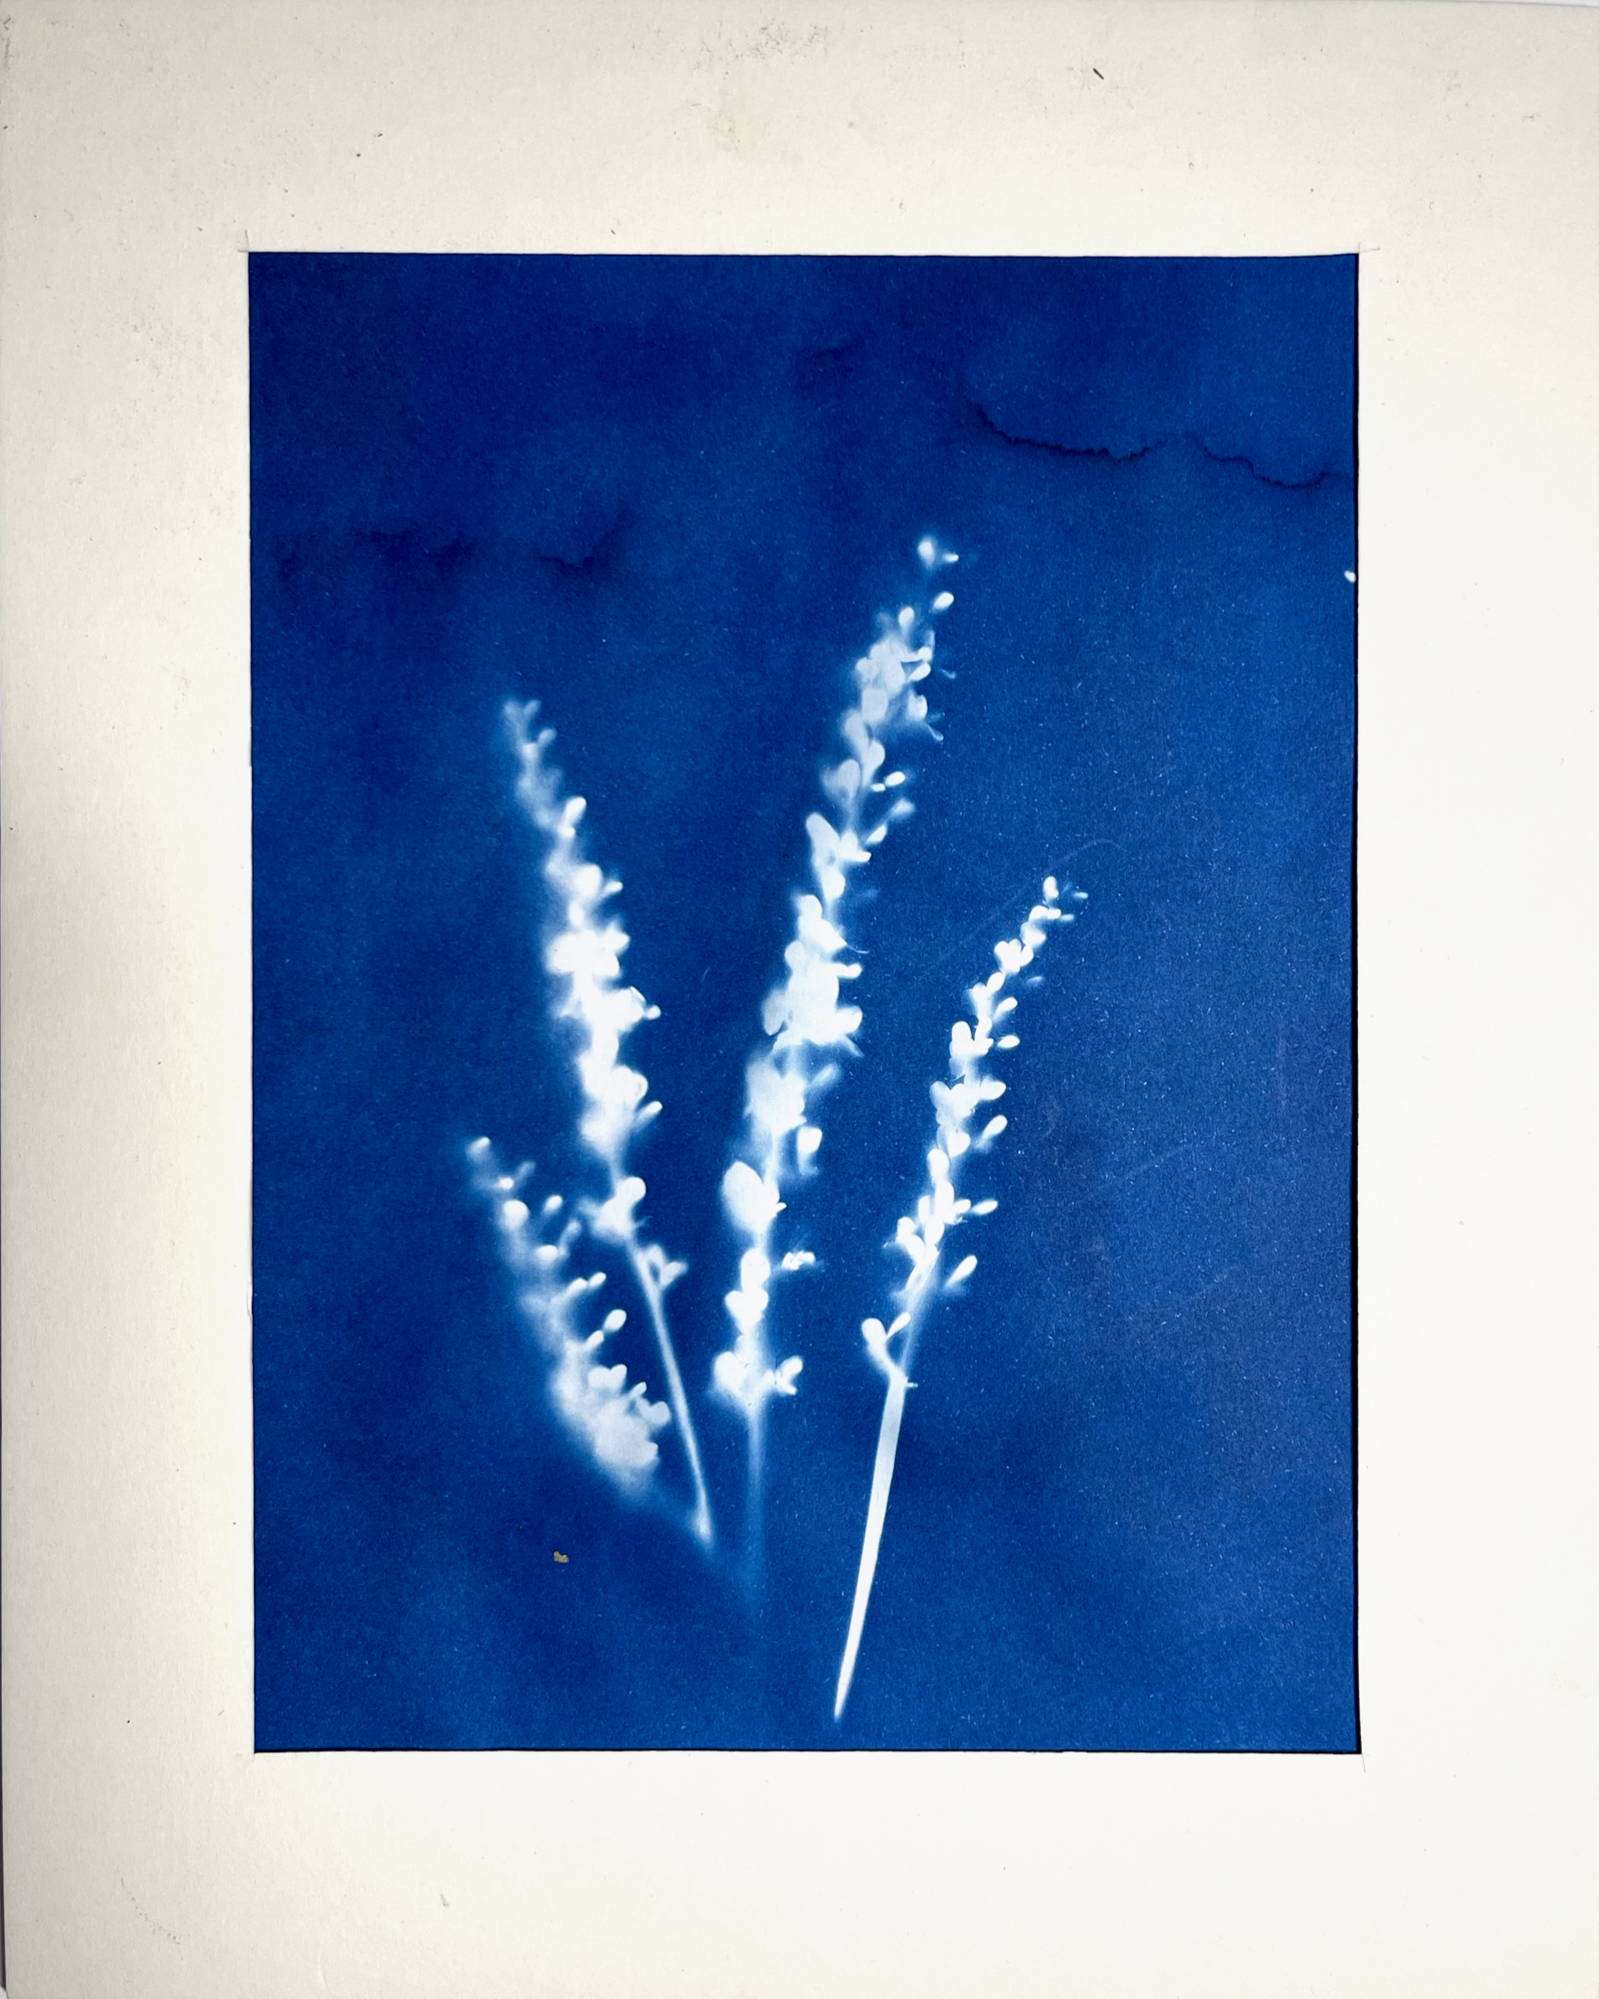
But my favorite method is using film negatives made from photographs.
There’s really nothing like the blue cyanotype finish when a photo negative comes through well.
How I Make a Film Negative
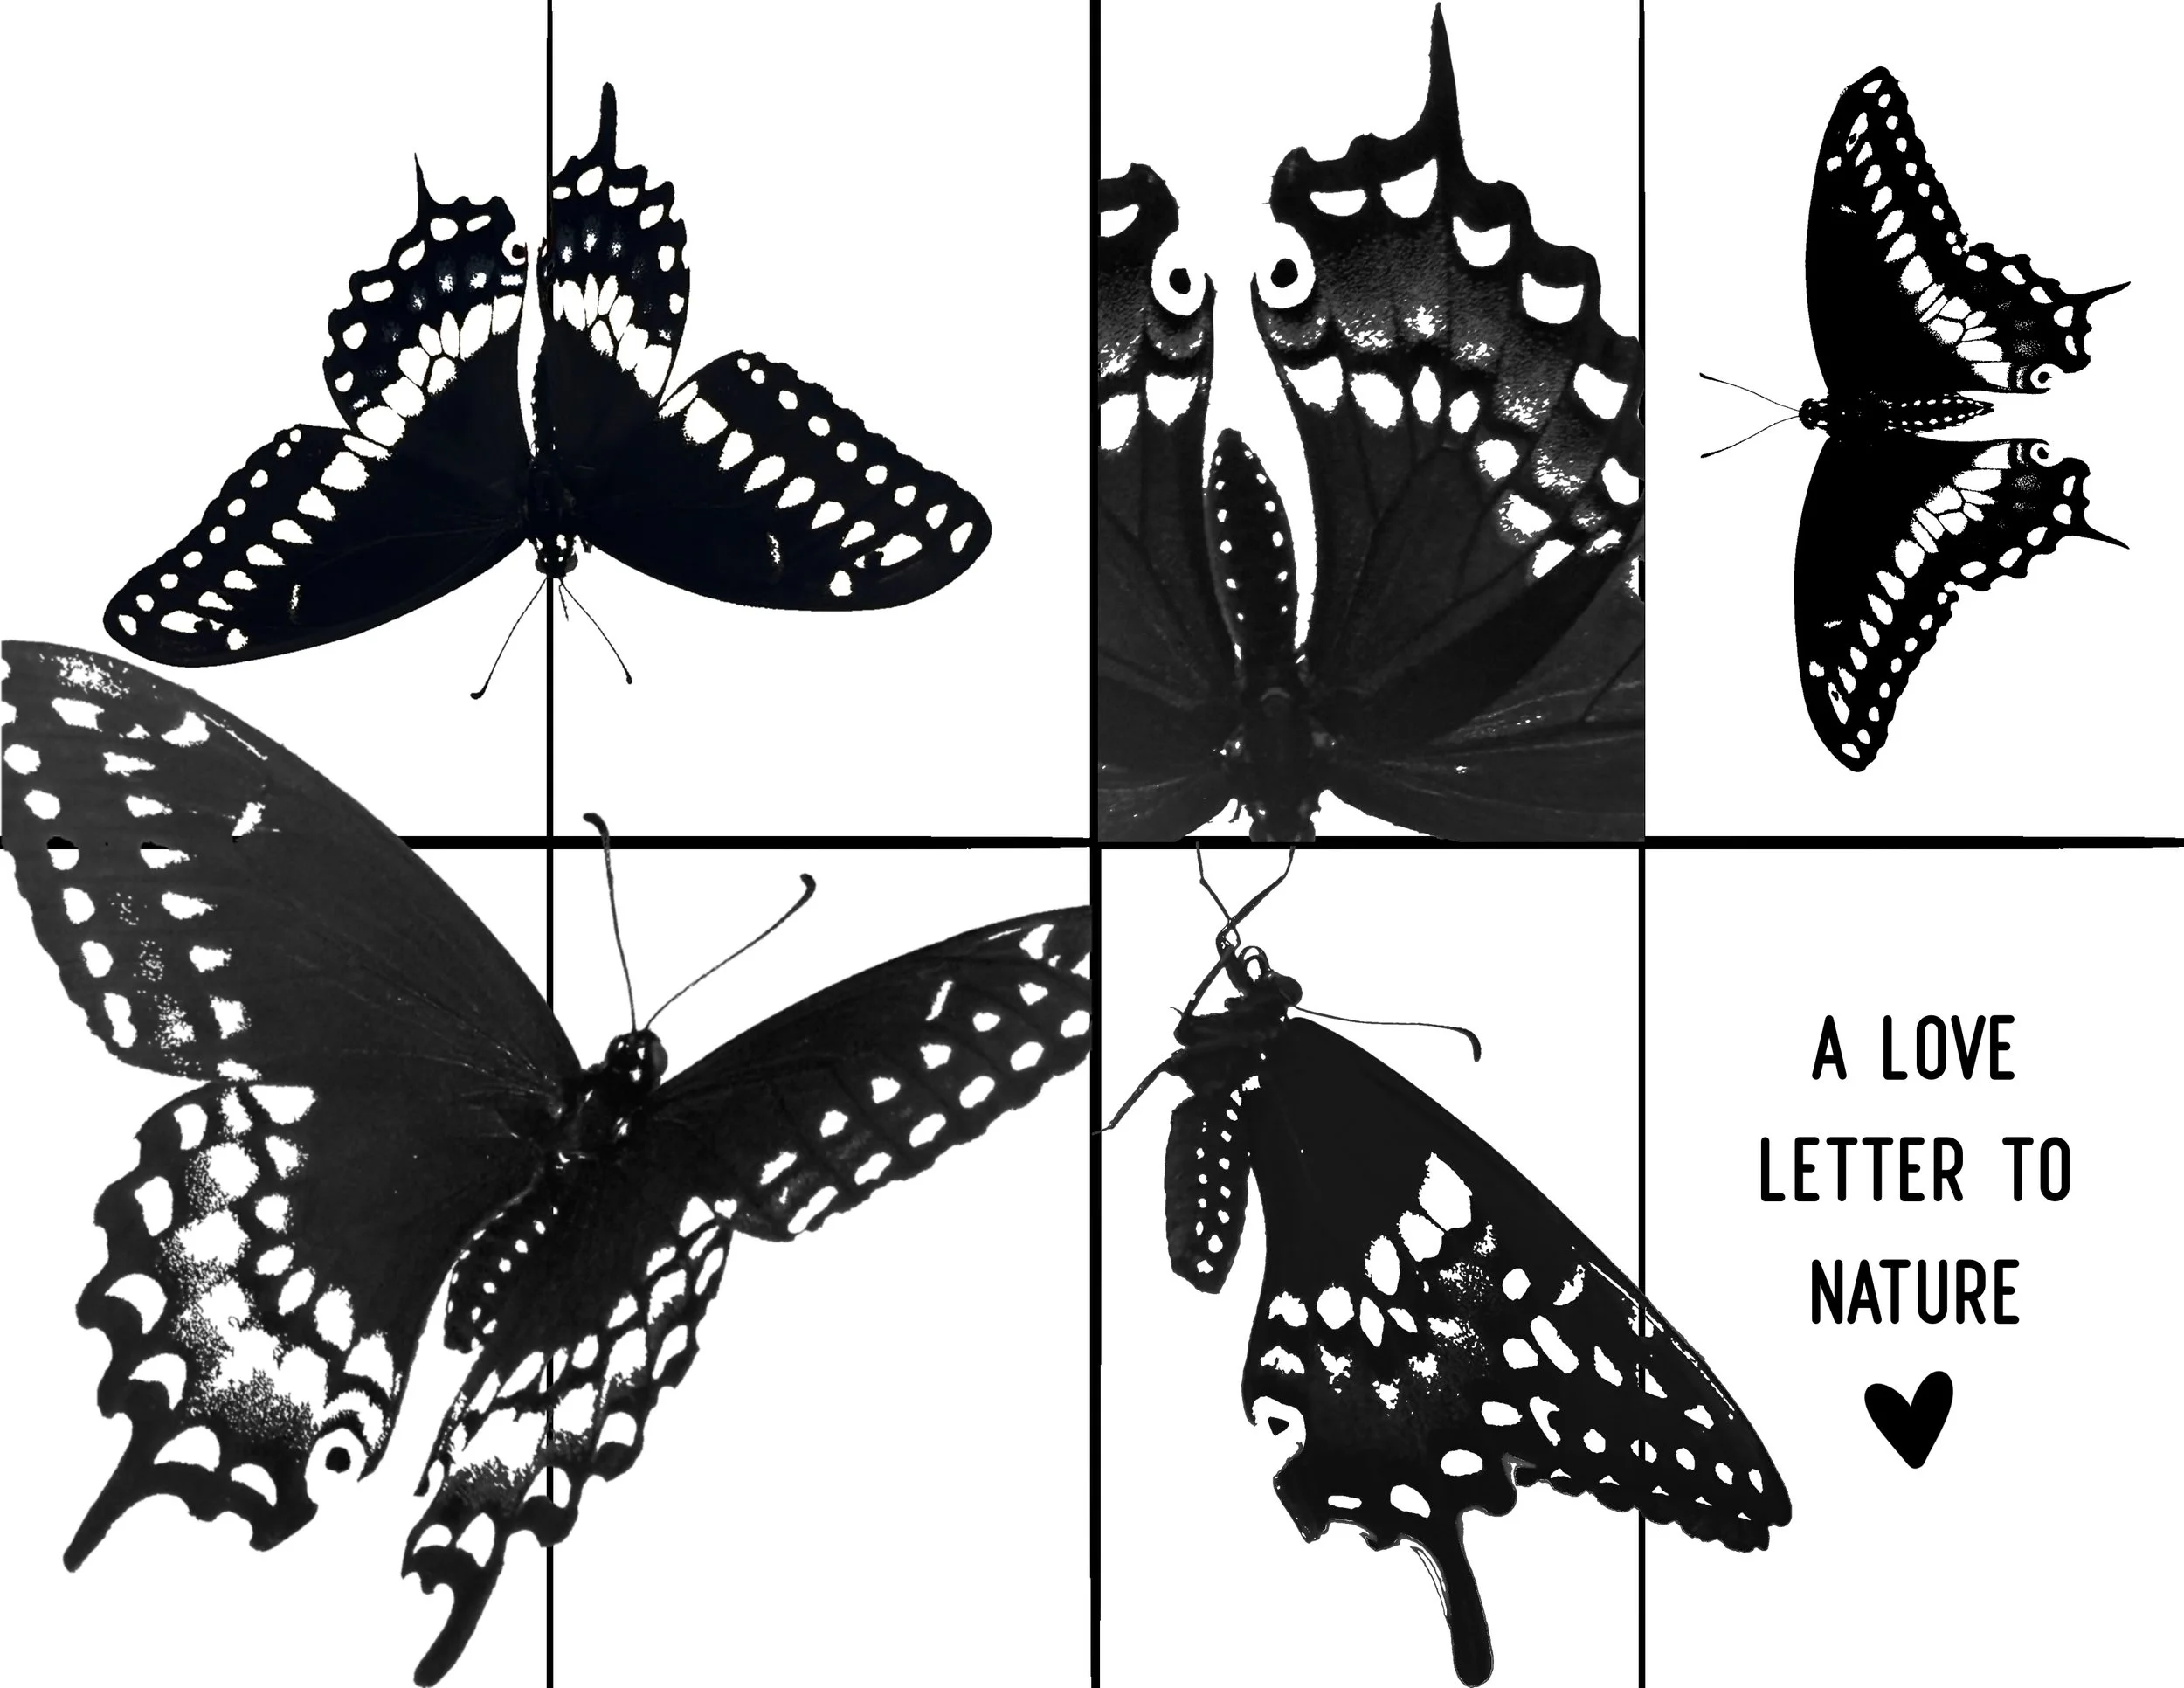
I start by taking a photo and editing it in an app that lets me invert colors. I use Procreate, but other software can work too.
My basic process:
Convert the image to black and white
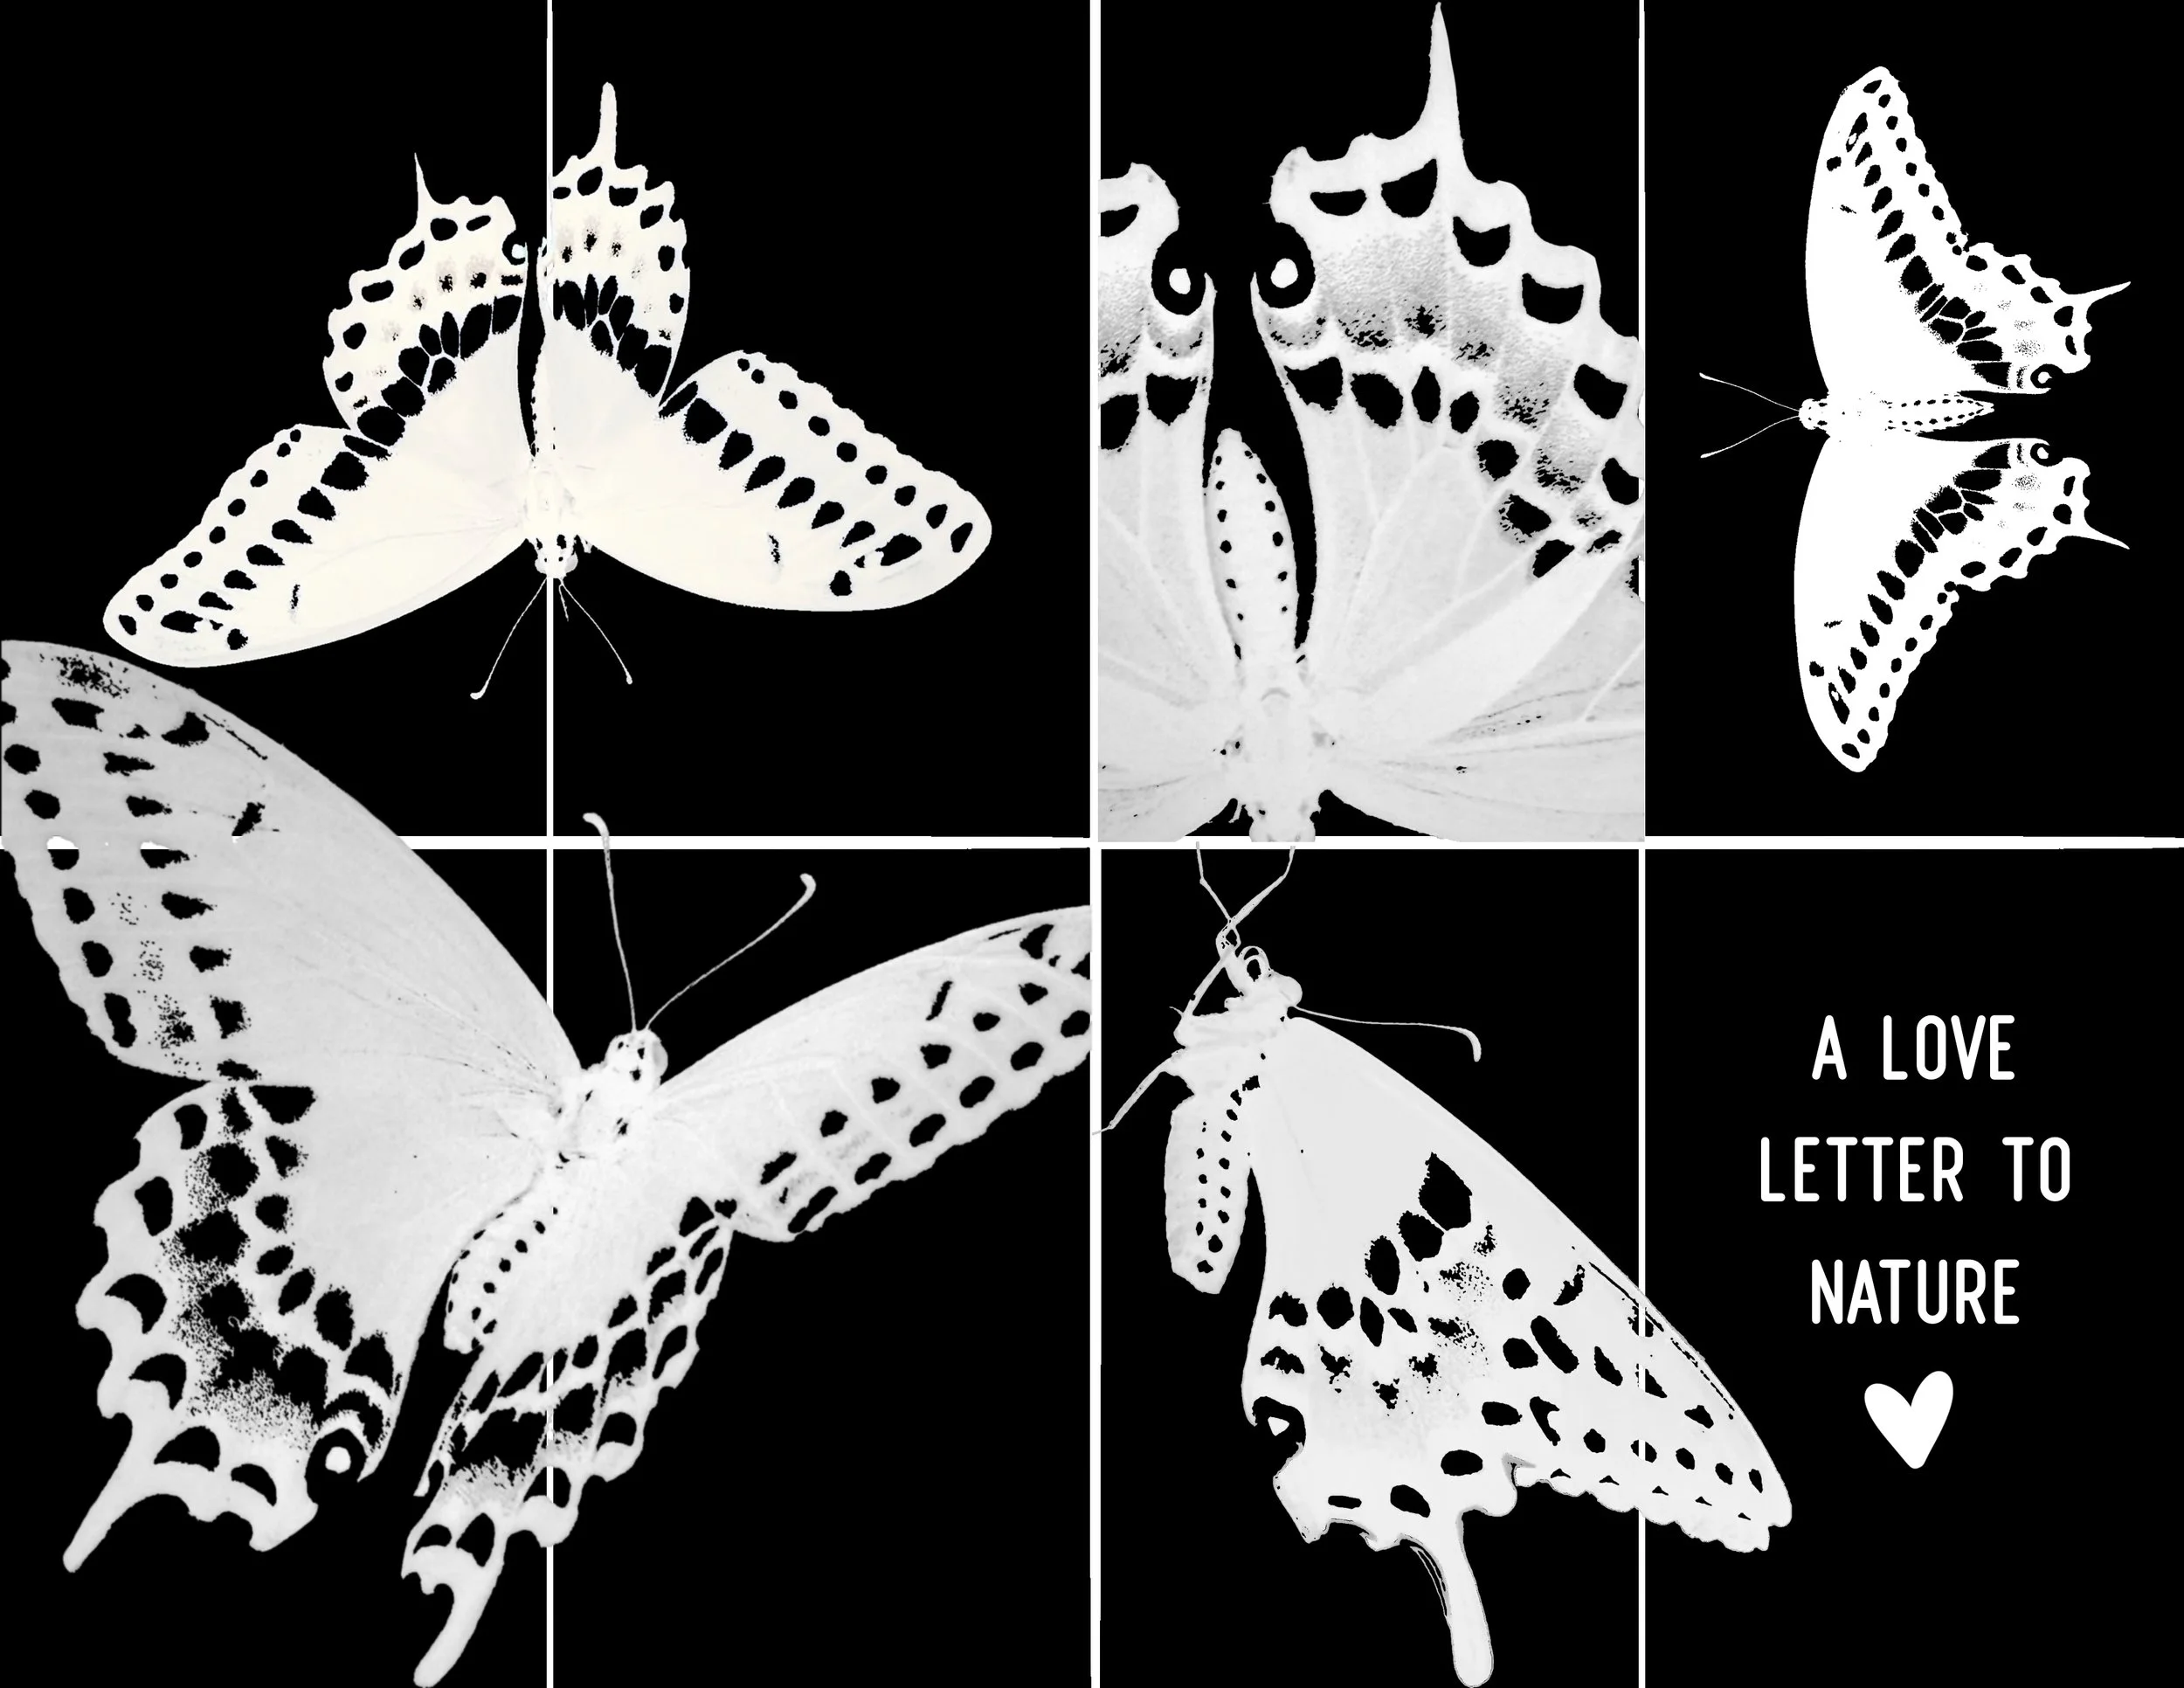
Invert the image colors
Print the inverted image onto transparent film
There’s been some trial and error here.
I use translucent film sheets with a regular HP printer, and honestly, I still sometimes guess which side of the film should face the printer. One side is glossy, one isn’t, and if I print on the wrong side, the ink can stay wet and smear.
But once it works, that printed transparency becomes your negative.
Then I place that negative on top of the treated cyanotype paper for exposure.
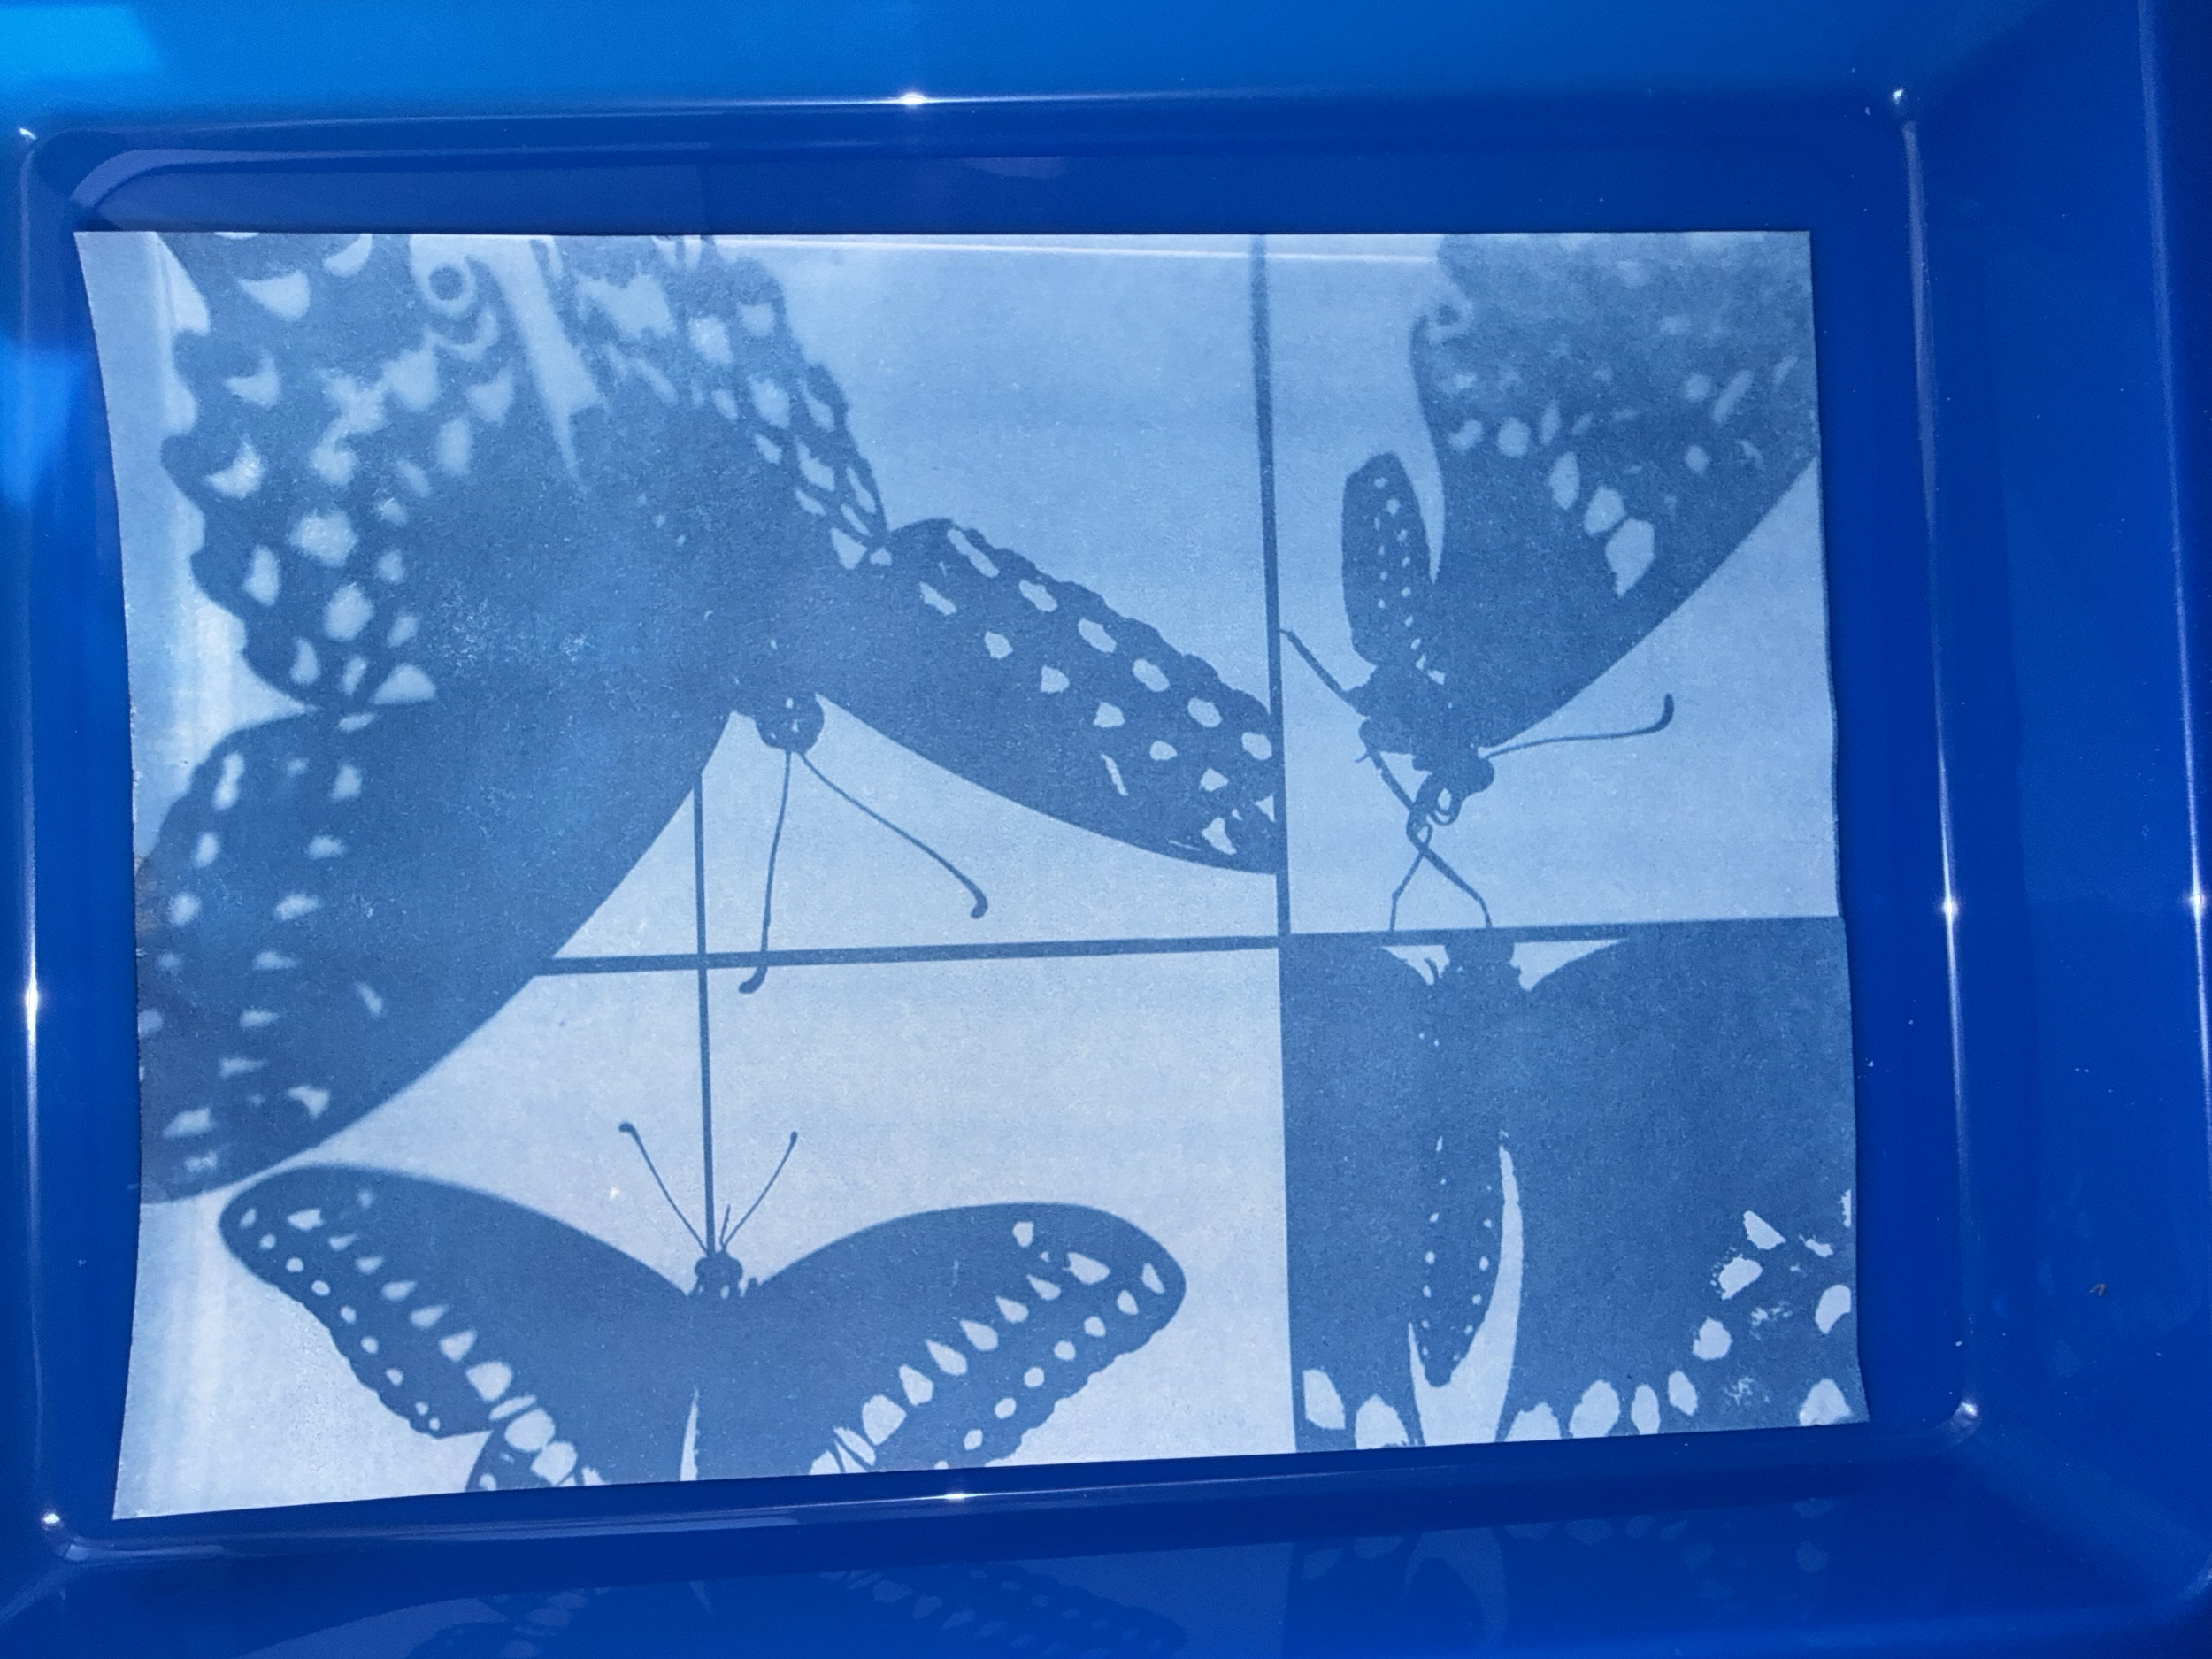
Rinse and Develop
When the print is ready, the blue paper usually starts shifting toward a brownish-green tone.
That’s my cue to rinse.
I usually use something simple like a cookie sheet filled with cool or room-temperature water. I move the print around, dump the water, add fresh water, and repeat.
I like using clean water rather than letting the print sit in murky blue water.
Then I use hydrogen peroxide, which instantly deepens the blue. I love that part — the color transformation is dramatic.
Why I Keep Coming Back to Cyanotype
I love that cyanotype has room for experimentation.
It can be as simple as leaves in the sun or as involved as making photographic negatives.
And I especially love the finished blue tone — there’s really nothing else like it.
Lately I’ve also been exploring cyanotype animations, zines, and mini artist magazines, and I’ll share more about that process once I develop it further.
Thanks for following along with how I make these!
— Sydney